
Dungeon Drops & GuidesWailing Caverns loot →
DUNGEON GUIDE
Wailing Caverns guide
- Level
- Level 17+
- Location
- The Barrens
- Group
- 5 players
- Bosses
- 8
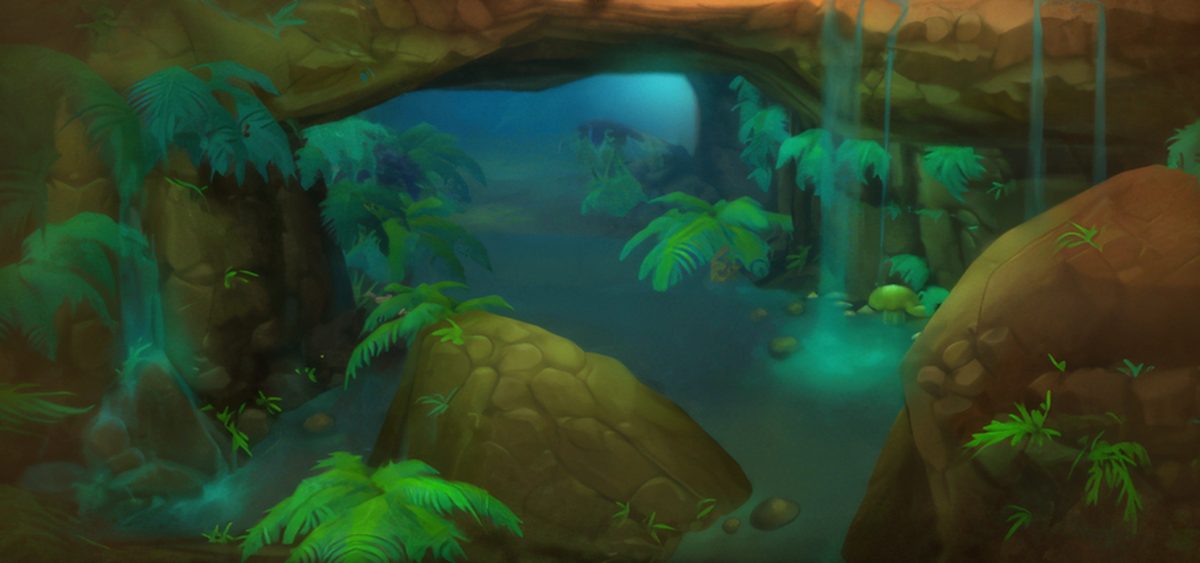
A layered maze — navigation is the hard part. After killing the four Fang lords (Anacondra, Cobrahn, Pythas, Serpentis) you escort Naralex's Disciple, and only then does Mutanus appear.
Entrance Cave in the ravine south of the oasis, The Barrens (47.7, 35.0)
Before you go
- The Fang druids cast Healing Touch — split interrupts and make sure every cast is stopped.
- Poison and sleep dispels prevent most wipes.
- Raptors call nearby mobs when low on health, so clear around them first.
- The map is flat but the cave is layered, with drops you cannot climb back up — it is easy to get separated.
Dungeon map
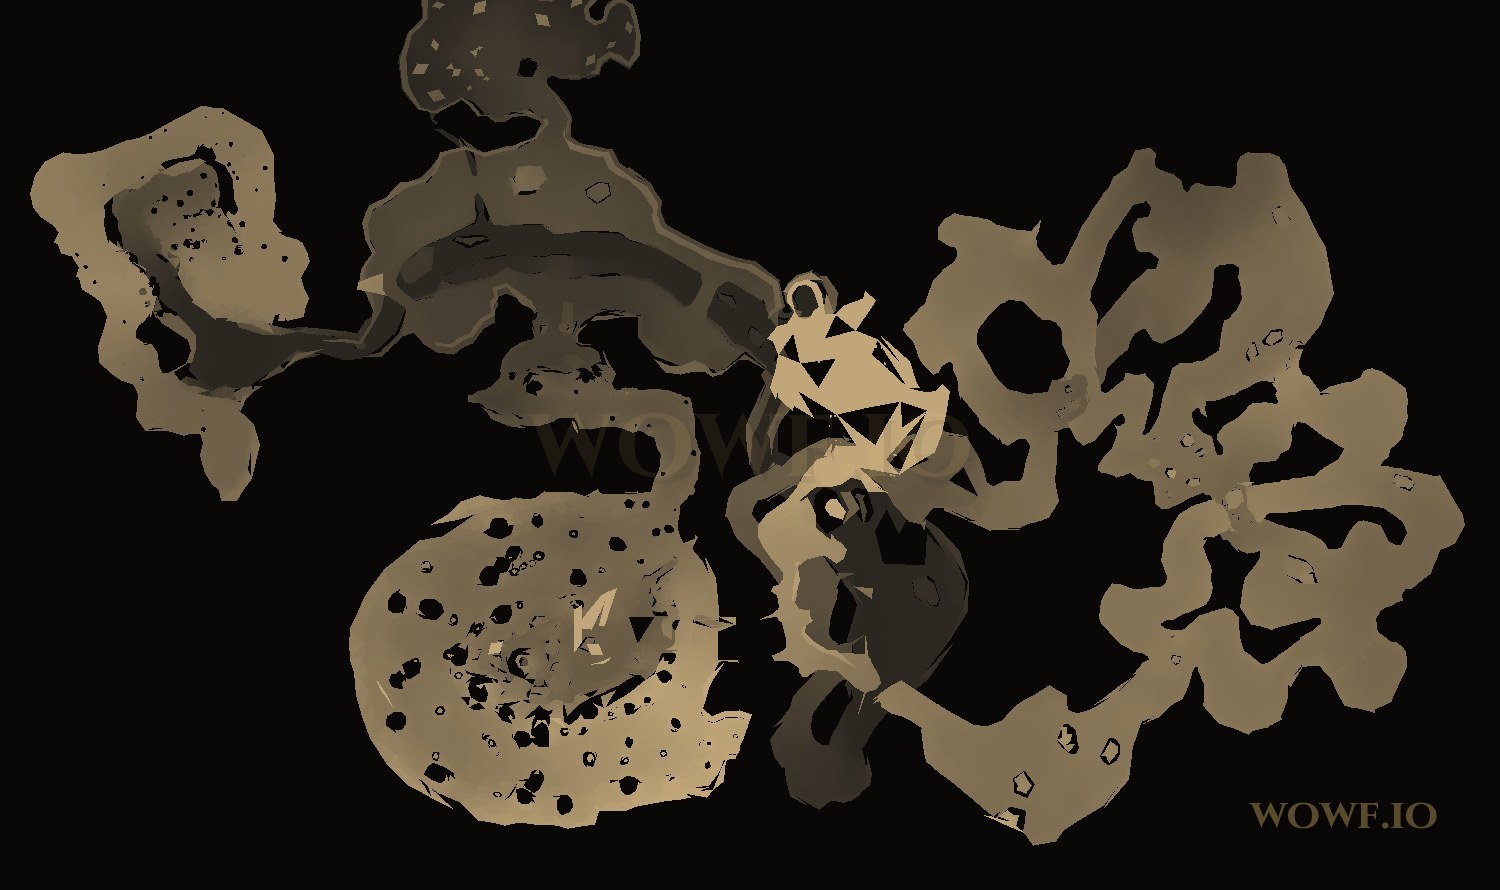
The numbers follow the route — each stop says what is there (boss, rare, object, NPC, something to do), and clicking one jumps to the section with the same number below. A faded number marks another spot where that mob can appear. We have not verified the walking path in this dungeon yet, so only the stops are numbered — the order is right, but the path between them is not drawn. The map is a top-down floor plan traced from the beta client's own dungeon geometry — brighter means higher. Every marker is a real mob coordinate from the Classic server database (cmangos classic-db), placed in the same coordinate system as the map rather than eyeballed onto artwork.
Route (10 stops)
- 1
Lady AnacondraBoss
Uses Lightning Bolt, Sleep, Healing Touch and a Thorns aura — always interrupt the heal.
- 2
Lord CobrahnBoss
Casts Lightning Bolt, Slumber and Healing Touch, then turns into a serpent that poisons — interrupt heals and cure poison.
- 3
KreshBossskippable
A turtle with no special abilities that wanders the water — pull it to you.
- 4
Lord PythasBoss
Uses Lightning Bolt, Sleep, Thunderclap and Healing Touch — interrupt the heal.
- 5
SkumBossskippable
Casts Chained Bolt and flees at low health — keep him from running.
- 6
Deviate Faerie DragonRareskippable
A rare that wanders the eastern caves — kill it if it is up, otherwise move on.
- 7
Lord SerpentisBoss
Uses Lightning Bolt, Sleep and Healing Touch — interrupt the heal.
Leaders of the Fang
- 8
Verdan the EverlivingBoss
Grasping Vines knocks down and damages everyone nearby; healers keep their distance.
- 9
Escort Naralex's DiscipleTo do
With all four Fang lords dead the Disciple starts the ritual escort — finishing it wakes the final boss.
Smart Drinks
- 10
Mutanus the DevourerBoss
Appears after all four Fanglords die and Naralex's disciple is escorted; uses Terrify, Thundercrack and Naralex's Nightmare (sleep).
The Glowing Shard
Dungeon quests (9)
Hamuul RunetotemLevel 16
Speak with Hamuul Runetotem
Nara WildmaneLevel 16
Speak with Nara Wildmane.
Deviate HidesLevel 17
Nalpak in the Wailing Caverns wants 20 Deviate Hides.
Trouble at the DocksLevel 18
Crane Operator Bigglefuzz in Ratchet wants you to retrieve the bottle of 99-Year-Old Port from Mad Magglish who is hiding in the Wailing Caverns.
SerpentbloomLevel 18
Apothecary Zamah in Thunder Bluff wants you to collect 10 Serpentbloom.
Smart DrinksLevel 18
Bring 6 portions of Wailing Essence to Mebok Mizzyrix in Ratchet.
Deviate EradicationLevel 21
Ebru in the Wailing Caverns wants you to kill 7 Deviate Ravagers, 7 Deviate Vipers, 7 Deviate Shamblers and 7 Deviate Dreadfangs.
Leaders of the FangLevel 22
Bring the Gems of Cobrahn, Anacondra, Pythas and Serpentis to Nara Wildmane in Thunder Bluff.
The Glowing ShardLevel 26
Travel to Ratchet to find someone that can tell you more about the glowing shard.
As of 2026-09-20 · beta data, may change